




Bathroom Tile Layout Checklist: What to Approve Before Installation
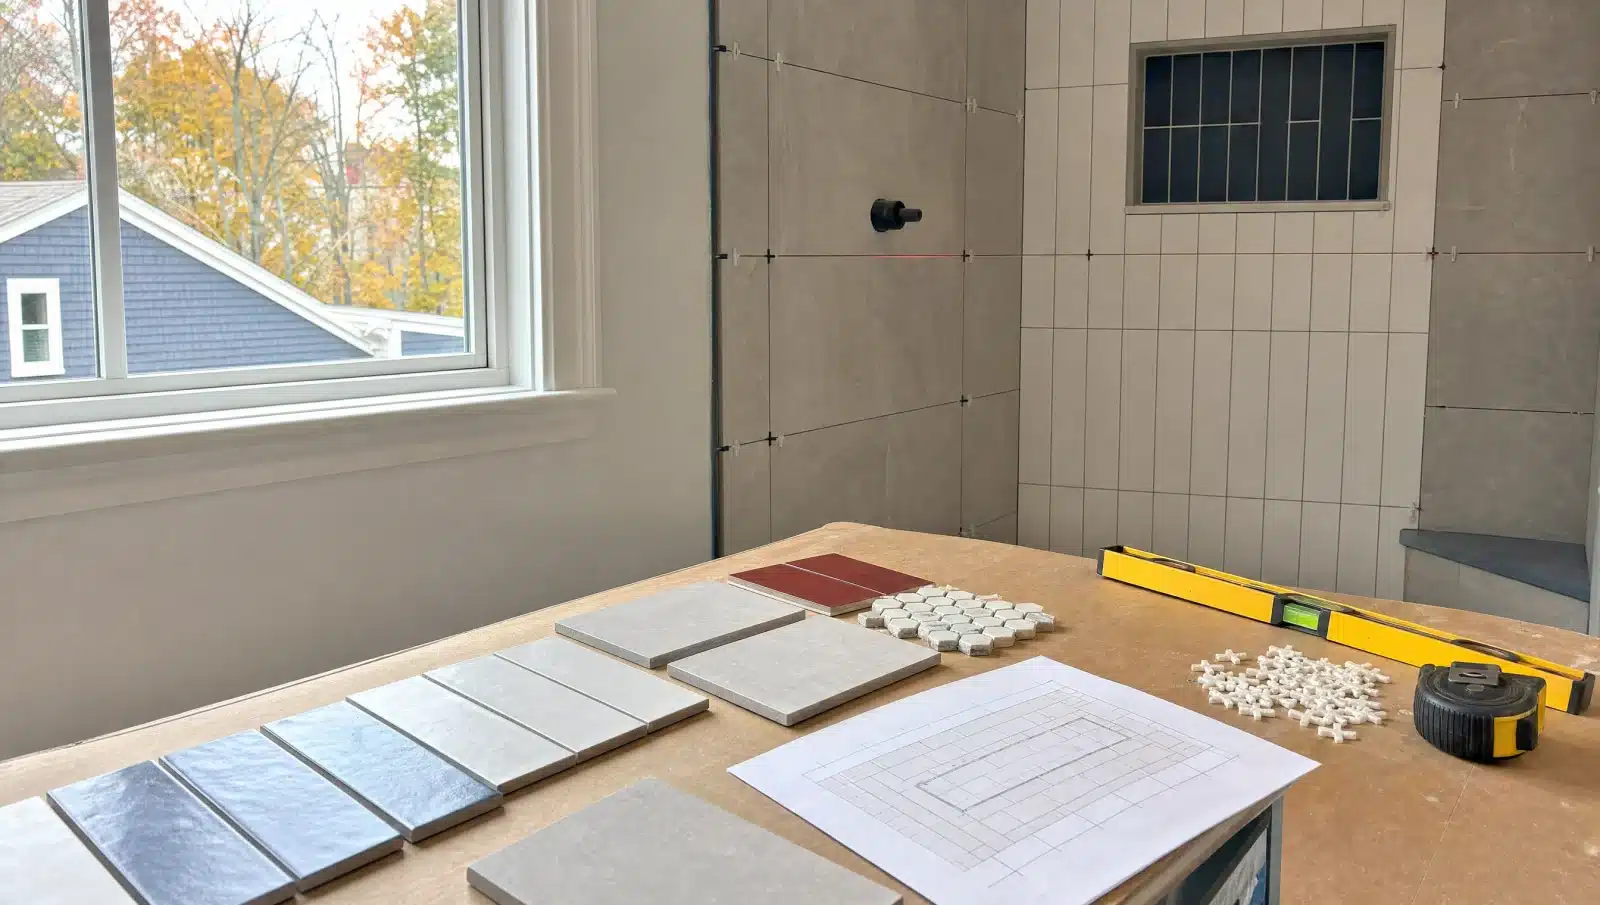
A bathroom tile layout checklist should show where the layout starts, which surfaces are focal points, where cut tiles and transitions will appear, how niches and openings align, and which grout and edge decisions have been approved. Selecting the tile is not the same as approving its placement. The field layout needs its own review before permanent setting begins.
Use the checklist as a visual decision record for a Billerica-area bathroom remodel, not as a substitute for technical installation documents. The contractor and installer remain responsible for evaluating the substrate, waterproofing and drainage assembly, movement accommodation, bonding materials, and other project requirements against the selected products and applicable instructions.
Separate product approval from layout approval
Product approval answers questions such as tile type, size, color, finish, quantity responsibility, and grout selection. Layout approval answers a different set of questions: where the pattern begins, which line the eye follows, where partial tiles land, how a niche fits the field, and where one finish ends.
Record both approvals. A box of the correct tile can arrive on time while the most visible wall still has no agreed reference line. Conversely, a sketch can look settled while the actual product’s dimensions or variation make the planned alignment impractical. The product, room dimensions, and field conditions must be reviewed together.
Choose visual priorities before solving every cut
Begin by ranking what matters most in the finished room. Typical priorities include a centered focal wall, a balanced view from the doorway, alignment through a shower niche, a calm transition at the vanity, or continuity between the main floor and shower area. Not every line can dominate at once.
Walk the room from the positions people will actually see:
- the bathroom doorway;
- the vanity and mirror;
- the toilet area;
- the shower or tub entry;
- the main view into a niche or feature wall; and
- the threshold to the adjacent floor.
Mark the primary view and the secondary views on the layout record. That gives the installer a decision hierarchy when field dimensions create a tradeoff between competing alignments.
Review each surface as part of one room
A bathroom can include several tile fields that meet one another. Review each surface separately, then check how the lines connect across corners, changes of plane, edges, and transitions.
| Surface | Layout decisions to review | Record before approval |
|---|---|---|
| Main floor | Starting reference, pattern direction, doorway view, perimeter cuts, fixture relationships, and threshold transition | Annotated plan or field marks, approved viewing priority, transition detail, and open questions |
| Shower or tub walls | Focal wall, horizontal and vertical reference lines, corner relationships, top termination, valve and fixture cuts, and edge finish | Surface elevations or marked photos, tile orientation, edge decision, and visible-cut locations |
| Niche, bench, or feature | Relationship to surrounding joints, border or field treatment, inside surfaces, shelf or edge condition, and feature priority | Detail sketch, product assignment, intended alignment, and accepted field adjustment rule |
| Vanity or backsplash area | Centerline, outlet and fixture relationships, side termination, mirror or cabinet edges, and connection to adjacent walls | Measured elevation, termination points, and any trim or edge product |
| Thresholds and transitions | Where tile stops, how it meets the next finish, elevation relationship, door position, and visible edge | Plan detail, selected transition material, responsible trade, and approval date |
Make cuts and terminations visible in the review
Do not approve only the full tiles in the center of a rendering. Ask the layout record to show the perimeter pieces, corner relationships, top row, bottom row, penetrations, and exposed edges that will be visible. If the field requires an adjustment, identify which visual priority should be protected first.
Avoid a universal rule such as “always center the tile.” Centering one surface may create a weaker condition at a doorway, niche, or adjacent wall. The better question is: which alignment produces the clearest overall composition for this room, using the actual tile and measured field conditions?
Approve niches and feature details as small rooms
Niches, benches, and accent areas have their own inside planes, edges, joints, and transitions. A front elevation alone may not show how the top, bottom, sides, back, and surrounding field meet. Review those surfaces together and note which joints should align where the design intends alignment.
For example, suppose a planned niche centerline conflicts with the surrounding tile-joint rhythm after field measurements are confirmed. The team might protect the niche position and accept different surrounding cuts, revise the niche detail before installation, or change the intended joint relationship. The right choice depends on the approved room priorities and technical constraints. What matters is that the tradeoff is visible and documented before tile is permanently set.
Review the actual material, not only a digital image
Compare the approved tile samples with the delivered material before installation according to the project plan. Look at color, shade, pattern, texture, finish, edge character, and the amount of natural variation across multiple pieces. Confirm how varied pieces should be distributed and who makes field selections when two pieces should not sit together.
Review grout color and joint appearance with the actual tile where practical. Lighting changes how both tile and grout read, so compare the combination in the room’s daytime light and planned electric lighting. A screen rendering is useful for orientation, but it cannot fully represent surface variation, reflectivity, or grout appearance.
Use a mockup or dry review when it resolves a real question
A mockup does not need to reproduce the entire bathroom. It should answer the specific question that drawings leave open—for example, the relationship between a niche and surrounding joints, the direction of a veined pattern, the balance of cuts at a focal wall, or the appearance of an edge treatment.
Label what the mockup approves and what it does not. If it approves pattern direction but not grout color, say so. Photograph the accepted condition, date it, and keep it with the surface record. If field conditions later force a material change, route that decision through the same written approval process.
Finish with a surface-by-surface signoff
- The exact tile, orientation, and surface assignment are recorded.
- The primary and secondary viewing priorities are marked.
- Starting references and pattern direction are shown on the current plan or elevations.
- Perimeter cuts, corners, penetrations, exposed edges, and top and bottom terminations are visible.
- Niches, benches, feature areas, and their inside surfaces have dedicated details.
- Doorways, thresholds, adjacent flooring, vanities, mirrors, cabinets, and other finish transitions are coordinated.
- The actual delivered material and its variation have been reviewed according to the project plan.
- Grout and edge decisions are documented without replacing the installer’s technical requirements.
- Open questions have an owner and a deadline before the affected installation starts.
- The approved record includes the date, current drawing or photo, and people who reviewed it.
For room-level planning before the field layout, review these small bathroom layout and storage decisions. If you are ready to establish the project’s main scope, Tranni Home Remodeling provides bathroom remodeling services across its confirmed service area. The service page remains the primary commercial destination; this checklist supports the separate task of approving tile placement before installation.