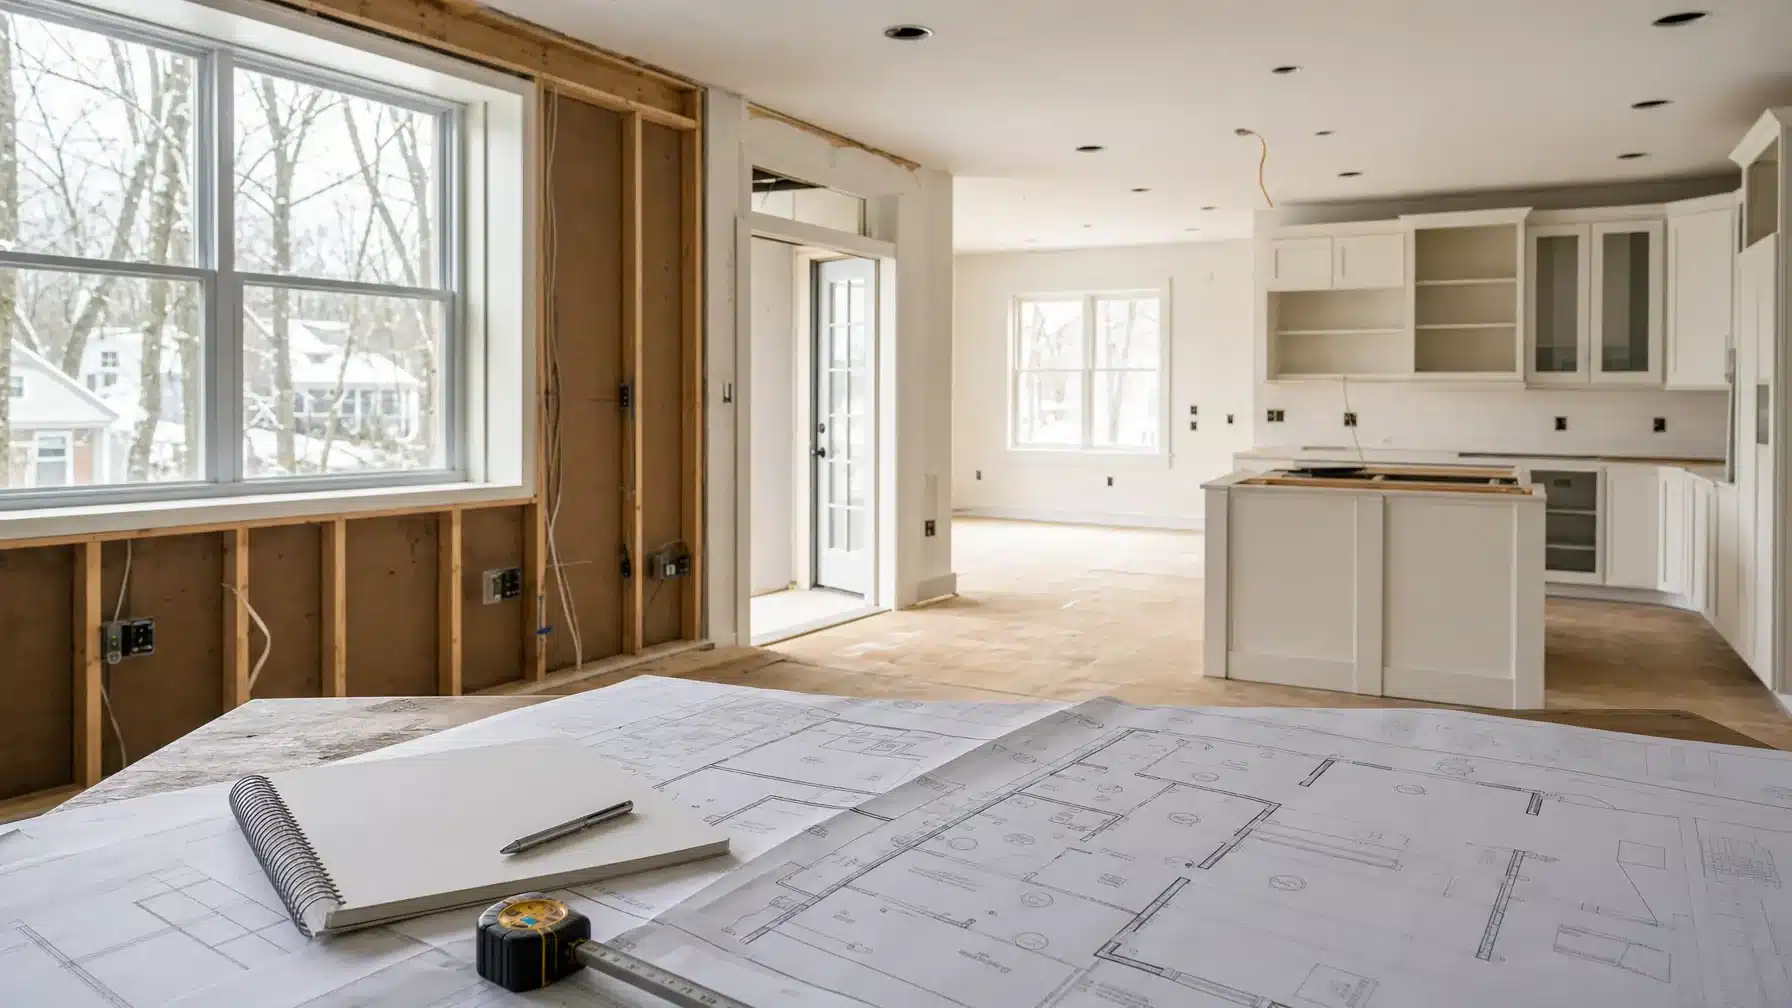





Remodel Electrical Walkthrough: Plan Outlet, Switch, and Lighting Locations
An electrical walkthrough should connect the remodel drawings to how you actually use each room. Mark where furniture will sit, where you enter and leave, what needs power, and which activities need light. Then discuss those preferences with the electrical professional before locations are finalized.
Your role is to explain household routines and flag conflicts. The electrical professional must resolve technical design, capacity, required protection, installation details, and applicable local requirements. A location checklist does not establish electrical safety or code compliance.
Bring the layout you intend to live with
Coordinate the walkthrough’s timing with the project team. Ask when household location preferences are needed and which drawings or selections must be ready for a useful discussion. Do not assume that an informal conversation or a mark on a wall becomes an installation instruction.
- Bring the current floor plan, including door swings, windows, cabinetry, built-ins, and any planned layout changes.
- Sketch the intended furniture arrangement, including beds, nightstands, sofas, desks, tables, and media furniture. Label uncertain positions rather than treating them as settled.
- Bring available manufacturer specifications for selected appliances, equipment, fixtures, and controls. Flag missing selections for follow-up rather than guessing their requirements.
- List the household’s charging spots, work areas, reading places, cleaning routines, and any reach or usability preferences.
Keep this discussion focused on electrical locations. Use the home remodel preconstruction meeting checklist for broader questions about project access, communication, responsibilities, and changes.
Use a consistent annotation method
On a working copy of the plan, label proposed outlets, switches, and lights in plain language. Connect each mark to its intended use: bedside charging, desk equipment, reading light, or entry control. Use arrows to show walking routes and label unresolved furniture positions. Keep preference marks distinct from the team’s technical drawings.
Note Keep the walkthrough observational. Do not remove outlet or switch covers, open electrical equipment, inspect energized parts, or perform electrical work. If the team permits temporary location marks on surfaces, have them explain where and how to mark safely.
Walk arrival, nighttime, and room-to-room routes
Trace your usual routes on the plan, then walk accessible areas with the project team. Think about arriving with bags, leaving a room after turning off the lights, and moving between a bedroom and bathroom at night. Point out where you would want to reach a control and which area you expect it to illuminate.
At each doorway, discuss whether an open door, trim, or nearby cabinet could interfere with the proposed switch location. Where a space has multiple entrances, explain the routes you use and ask the electrical professional how control locations can support them. Describe the desired result rather than specifying wiring.
Room-by-room outlet, switch, and lighting checklist
Kitchen and dining areas
- Mark where you expect to prepare food, use countertop equipment, and charge devices. Discuss these uses without assigning circuits or assuming a preferred outlet position is permitted.
- Review proposed locations against cabinet faces, drawers, backsplashes, and appliance doors. Bring selected appliance documents as inputs for the professional’s review.
- Locate the dining table and island seating on the plan before discussing lights above them. Identify preparation lighting and dining lighting you would like to control separately.
- If cabinetry lighting is planned, mark the surfaces you want illuminated and ask how cabinet details affect placement and controls.
Living and family rooms
- Place sofas, chairs, side tables, and media furniture on the plan. Mark intended power uses for lamps, charging, and entertainment equipment.
- Flag seating away from walls and ask what location options can serve it without planning cords across walking routes.
- Discuss reading areas, screen viewing, and artwork in relation to proposed lighting. Explain where glare would bother you and which lighting groups you want to operate independently.
Bedrooms
- Mark the bed, headboard, nightstands, dressers, and any desk or reading chair. Discuss whether furniture could block access to a proposed outlet.
- Identify bedside charging, lamps, and any equipment you expect to use. Give the electrical professional available equipment information rather than estimating electrical needs.
- Describe how you want to control room lighting on entry and at bedtime. Flag the nighttime route to the hallway or bathroom and any preference for gentler lighting along it.
Bathrooms
- Mark the vanity, mirror, medicine cabinet, and storage layout. Explain where grooming devices will be used and stored; ask the professional which outlet locations are appropriate.
- Discuss lighting for the mirror, general room use, and nighttime visits. Identify which functions you would prefer to control separately.
- Flag conflicts with cabinet doors, drawers, mirrors, and wet areas. Leave required protection, fixture suitability, and placement restrictions to the electrical professional.
Home offices and flexible rooms
- Show the desk orientation and intended positions for computers, monitors, printers, task lamps, and charging equipment.
- Discuss whether furniture or storage would make outlets difficult to reach. Explain the desired cord path without treating it as an installation design.
- If the room has alternate uses, mark both layouts as alternatives. Ask which location decisions depend on choosing a final arrangement.
Entries, halls, laundry areas, and finished basements
- Mark arrival storage, planned charging areas, and places where you expect to use cleaning equipment.
- In laundry areas, show appliances, folding surfaces, and storage. Bring appliance information and flag doors or cabinetry that could obstruct proposed locations.
- For a finished basement, identify separate activity zones and the route between them. Discuss controls at entrances and transitions, including stair approaches, while leaving required placement to the professional.
Turn each proposed location into a decision record
Keep a short record tied to the marks on your plan. A location can be preferred by the homeowner but still need technical review. Avoid a general “approved” label that hides that distinction.
- Proposed location: room, wall or ceiling area, and matching plan label.
- Intended use: the activity, equipment, lighting task, or route the location should support.
- Open question: unresolved furniture, door, cabinet, fixture, access, or technical issue, plus who will answer it.
- Confirmation status: preference recorded, awaiting professional review, awaiting a layout decision, or confirmed in the current project documents. Record who confirmed it and which drawing contains the decision.
Ask the electrical professional to identify any unresolved capacity, required protection, equipment compatibility, or local requirement questions. Requirements must be verified for the project’s jurisdiction; a location preference should not be treated as technical authorization.
Close the walkthrough with a clear handoff
Before finishing, review the marked plan with the team and identify which locations are confirmed and which remain open. Agree where the current record will be kept, who will update the drawings, and how later changes will be communicated. If furniture, cabinets, appliances, or doors move afterward, flag the affected electrical locations for review rather than assuming the earlier decisions still work.
Tranni Home Remodeling offers electrical services exclusively in Middlesex County, Massachusetts, and Southern NH. To discuss electrical work as part of your remodel, contact Tranni Home Remodeling with your current layout and location questions.