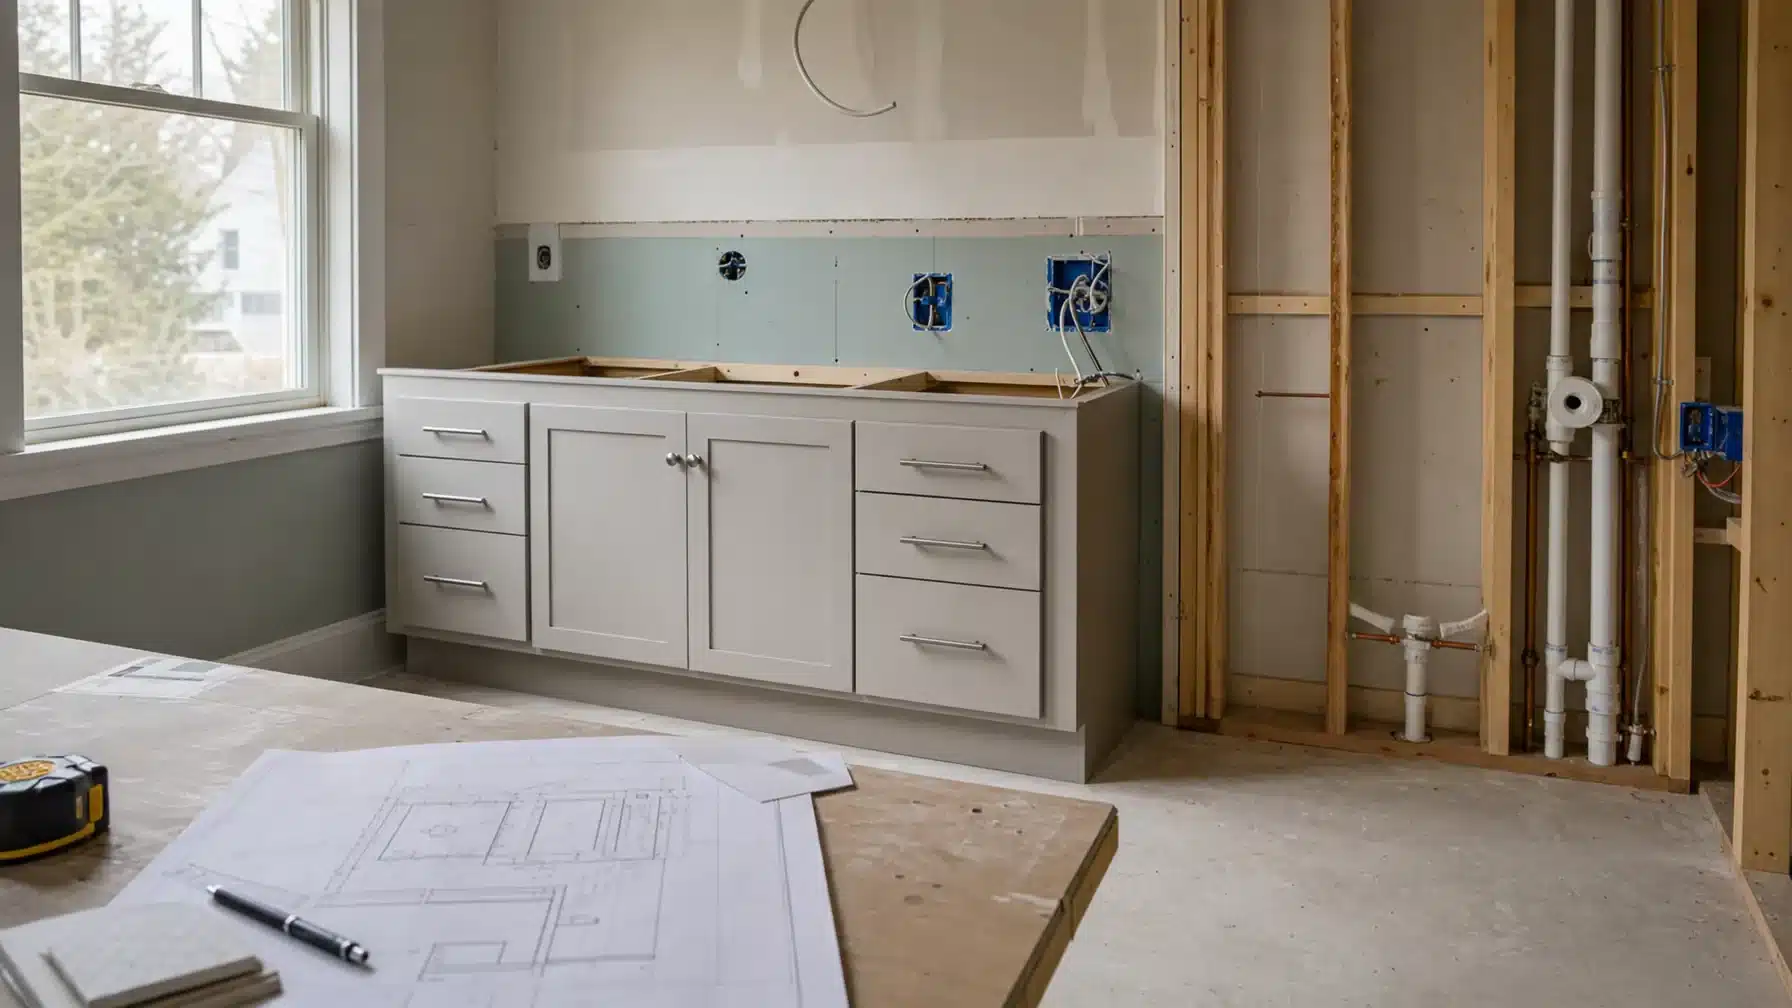





Bathroom Vanity Specifications: What to Confirm Before Rough-In
Before bathroom rough-in, confirm the exact vanity, sink, countertop, and faucet models; collect their current manufacturer documents; and identify any cabinet, plumbing, or electrical questions still awaiting review. Rough-in establishes utility locations before the finished fixtures are connected, so the handoff needs more than a vanity width and an inspiration photo.
A photo can communicate appearance, but it does not show the usable space behind drawers, the sink’s drain position, or the faucet’s mounting requirements. Your task is to provide accurate selection information and explain how you want to use the vanity. The remodeler and qualified trades must resolve project-specific installation requirements.
Collect documents for the exact selected products
Keep the product information together in a shared folder or project packet. Match model identifiers to the order, not just the collection name or retailer’s photo. If a vanity package includes a top or sink, identify those included components and any options that change the configuration.
- Vanity cabinet: manufacturer, full model identifier, selected configuration, dimensional drawings, installation instructions, and mounting or support information.
- Sink: exact model, mounting type, bowl dimensions, drain position, overflow information, and manufacturer cutout or installation documents.
- Countertop: included or separately supplied top, material selection, actual dimensions, sink cutout information, faucet-hole configuration, and backsplash or side-splash details.
- Faucet and drain assembly: exact models, mounting configuration, installation instructions, and any separate valves, rough-in components, or accessories required by the selected products.
Label missing documents rather than filling gaps from a similar model. Keep the reviewed manufacturer files with the packet so everyone can identify which documents informed the coordination.
Show the cabinet interior, not just its outside dimensions
A nominal vanity width does not describe the entire assembly. Record the cabinet and countertop dimensions separately, including projections and overhangs shown in the product documents. Identify the sink’s intended position within the top rather than assuming it aligns with the cabinet’s center.
The cabinet’s interior matters because plumbing and storage occupy the same space. Give the remodeler drawings that show drawer boxes, cabinet partitions, shelves, rear openings, and any manufacturer-designated plumbing space. A closed-door view can hide conflicts that an interior drawing makes apparent.
- Confirm which fronts are working drawers or doors and which are fixed panels.
- Identify drawer travel, interior organizers, adjustable shelves, and other selected storage accessories.
- Mark whether the sink is centered or offset and show the bowl and drain relationship to the cabinet compartments.
- Describe what you intend to store, especially if a pullout, organizer, or powered accessory is part of the selection.
Ask whether the selected storage configuration leaves suitable space for plumbing connections and service access. Do not assume a drawer or shelf can be cut to resolve a conflict; have the responsible professionals review any proposed modification against the product requirements.
Resolve sink, faucet, and backsplash compatibility
Have the sink, top, faucet, and drain assembly reviewed as a combination. Confirm that the faucet’s mounting arrangement matches the selected sink or countertop preparation. Flag the spout’s relationship to the bowl, handle operation near the backsplash, and space needed for installation and future servicing.
For a wall-mounted faucet, include the manufacturer’s information for both the concealed components and visible trim. Ask the plumber and remodeler to coordinate those documents with the sink, countertop, and finished wall assembly before utility locations are finalized.
Record whether the backsplash is supplied with the top, fabricated separately, or planned as tile. Identify adjacent walls, exposed cabinet ends, fillers, trim, and nearby door or drawer swings that need review. Treat a preferred mirror or cabinet alignment as a design preference until the team checks it against actual product and field conditions.
If tile forms the vanity backsplash, carry the agreed vanity and faucet information into the bathroom tile layout review. That separate review addresses tile alignment and terminations; the vanity packet supplies the product information it depends on.
Bring coordination questions to the qualified trades
- Plumbing: Do the selected sink, drain, faucet, and cabinet interior work together? Will the planned connections remain accessible without interfering with drawers or organizers?
- Electrical: Does any selected vanity accessory need power? Could cabinet movement, the backsplash, or adjacent storage conflict with the electrical plan?
- Wall and support conditions: What mounting or support requirements apply to this cabinet, and what must the team verify before the wall is closed?
- Finished assembly: Which wall, floor, countertop, and backsplash details must be settled before the team can finalize the vanity’s relationship to the utilities?
Leave installation locations, required clearances, protection, and applicable code requirements to the qualified professionals. For room-wide lighting, outlet, and switch preferences, use the separate remodel electrical walkthrough checklist rather than treating the vanity packet as an electrical plan.
Use a specification-packet checklist
Use the following fields for each selected component and related coordination issue. Keep product confirmation separate from permission to rely on it for rough-in decisions.
- Item and location: Identify the cabinet, sink, top, faucet, drain, or accessory and the bathroom it belongs to.
- Confirmed model details: Record the exact identifier, selected options, and matching manufacturer document names.
- Layout preferences: Attach an annotated plan or elevation showing sink position, storage priorities, adjacent finishes, and relevant operating conflicts.
- Unresolved questions: State what is missing or incompatible, who needs to answer, and which related decision depends on the answer.
- Approved for coordination: Record the responsible reviewer, review date, document version, and the specific decisions that may proceed.
Note “Selected,” “ordered,” and “approved for coordination” describe different states. An order confirmation does not establish compatibility, and homeowner approval of appearance does not replace trade review.
Send substitutions back through coordination
If a product changes, send the replacement model and its manufacturer documents to the remodeler before affected work proceeds. Identify what changed, including cabinet interiors, sink position, faucet mounting, or top dimensions. Similar appearance or nominal size is not evidence that the previous coordination still applies.
Ask the team to identify which plumbing, electrical, support, countertop, and finish decisions need another review. Mark superseded files clearly and obtain updated confirmation for the affected work rather than relying on the earlier approval.
Tranni Home Remodeling offers bathroom remodeling services exclusively in Middlesex County, Massachusetts, and Southern NH. Bring your selected product documents and open questions to the remodeling discussion so the project team can identify what still needs coordination.