




Mini Split Installation: Top 3 Secrets Pros Hide
What is a Mini Split and Why Consider a DIY Install?
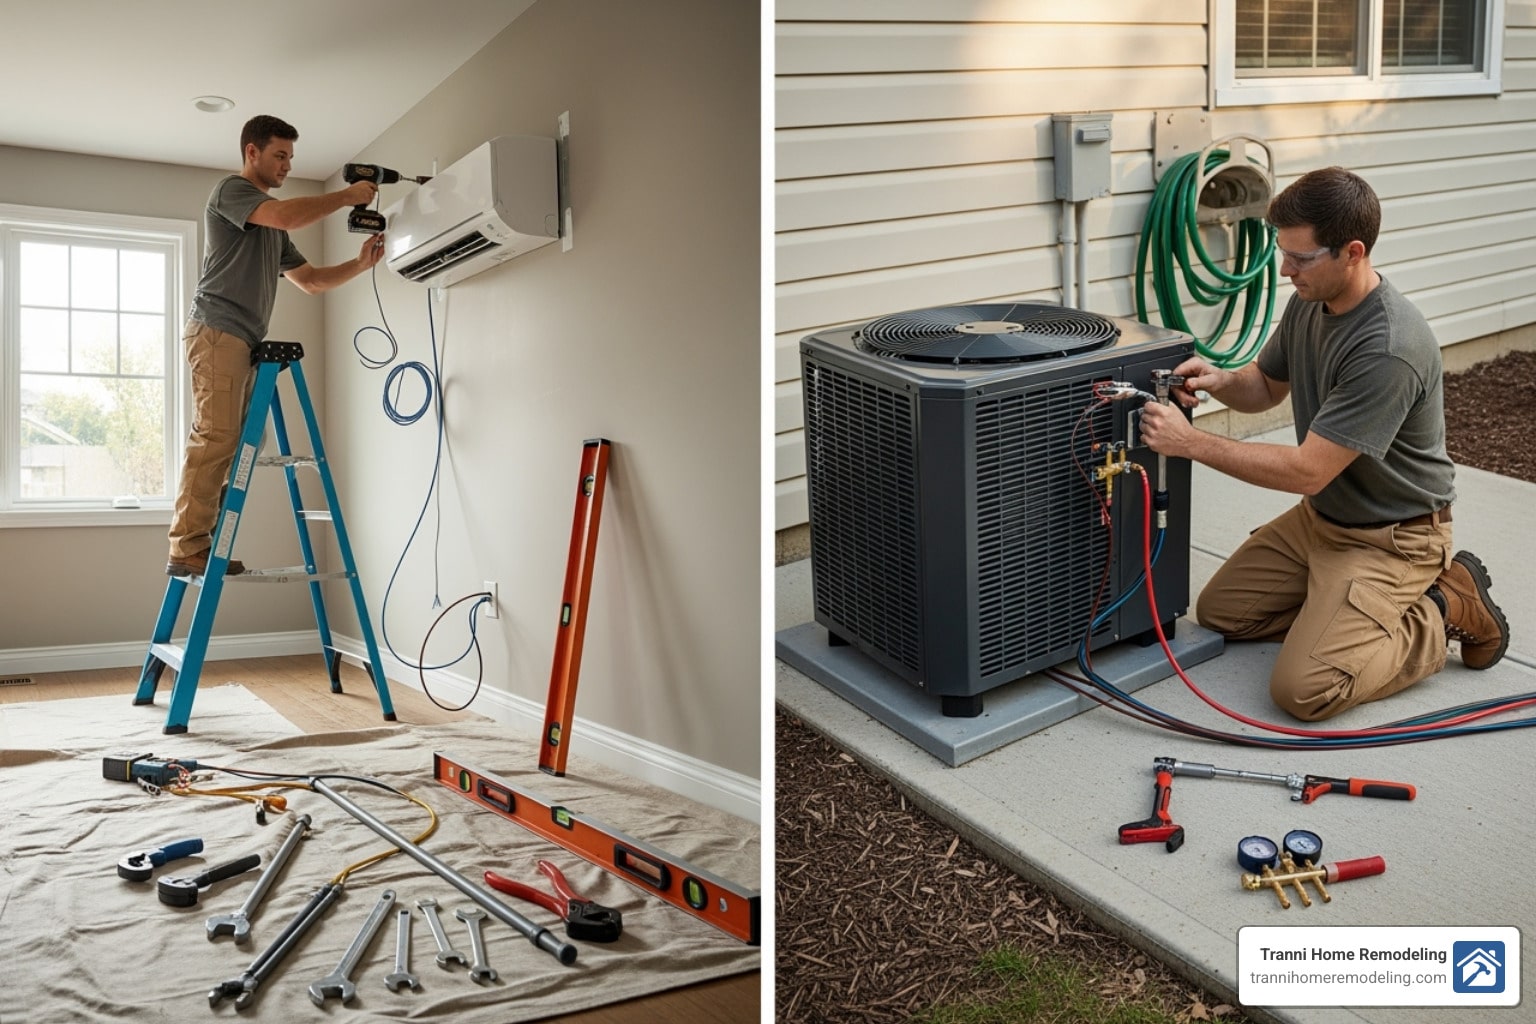
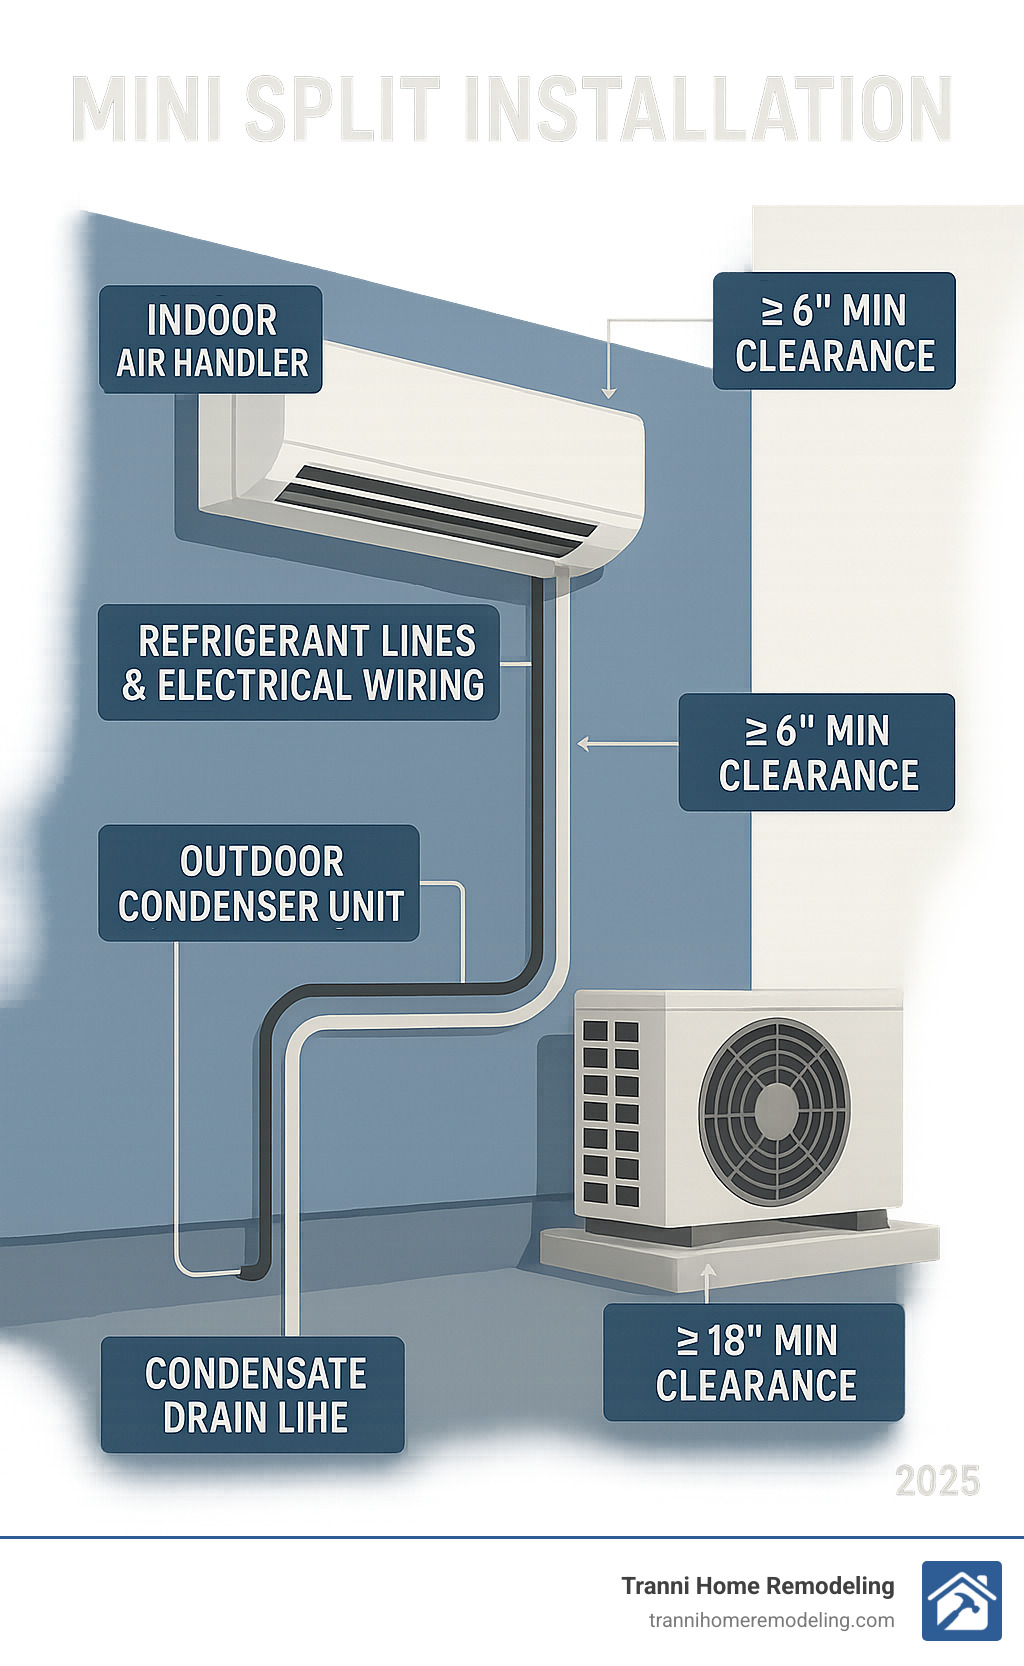
Mini Split Installation is the process of setting up a ductless heating and cooling system, which includes an indoor air handler, an outdoor condenser, and connecting lines. A mini split system provides targeted heating and cooling without extensive ductwork, offering individual room control and impressive energy efficiency.
The key steps involve mounting the indoor and outdoor units, drilling a hole through the wall for the connecting lines, connecting refrigerant and electrical lines, and then pressure testing and vacuuming the system to remove air and moisture.
The financial incentive for a DIY installation is substantial. Based on internet data, professional quotes can range from $6,000 to $35,000+ depending on system complexity, and some homeowners report saving thousands by tackling the project themselves.
Important Safety Note: While DIY-friendly kits with pre-charged refrigerant lines allow you to handle most of the installation, many states require licensed professionals for electrical connections and refrigerant handling. This is about safety and legal compliance, not just warranties.
The appeal is clear: energy savings, zoned comfort control, and the satisfaction of a major home improvement project. However, success depends on knowing which steps you can safely handle and when to call in a pro.
I’m Tyler Tranni, owner of Tranni Home Remodeling. I’ve guided many homeowners through HVAC decisions during renovations. While I recommend professional installation for safety and warranty protection, I understand the DIY appeal and want to share knowledge to help you avoid costly mistakes.
Mini Split Installation vocab to learn:
Prep Work: Choosing Your System and Gathering Your Tools
Getting your prep work right is the foundation for a successful Mini Split Installation. Making the right decisions on your system and tools upfront will save you headaches and money down the road.
How to Choose the Right Mini Split System
Properly sizing your mini split is crucial. Many people guess and end up with a system that’s either too small, running constantly without cooling the space, or too large, causing humidity issues from short-cycling. The key is a BTU calculation based on your space. A unit’s BTU rating determines its capacity. While square footage is a starting point, you must also consider ceiling height, insulation, window efficiency, and occupancy. Use a detailed online BTU calculator for an accurate assessment.
Next, choose between single-zone and multi-zone systems. Single-zone systems connect one indoor unit to one outdoor condenser, perfect for a single room or addition and much simpler for a DIY installation. Multi-zone systems connect multiple indoor units to one condenser for whole-home control, but their complexity (multiple line sets, more wiring) often requires professional help.
For DIY success, look for DIY-friendly kits with pre-charged refrigerant lines. These kits have refrigerant sealed in the line set, eliminating the need for specialized equipment and EPA 608 certification. This feature makes a Mini Split AC Heat Pump installation accessible to more homeowners.
Essential Tools and Supplies for Your Mini Split Installation
Having the right equipment is non-negotiable. While DIY kits simplify things, you’ll still need a core set of tools:
- Power Drill and 3.5″ Hole Saw Bit: For mounting brackets and creating the crucial wall penetration for the line set.
- Level and Stud Finder: To ensure the indoor unit is perfectly level for drainage and securely mounted to wall studs.
- Torque Wrench and Adjustable Wrenches: The torque wrench is essential for tightening refrigerant line flare nuts to precise specifications (e.g., 11.8 ft/lbs for ¼” tubing). This prevents leaks without damaging fittings.
- Hex Wrench: Often included, for opening service valves.
- Safety Gear: Safety glasses, gloves, and proper footwear are a must.
- Finishing Supplies: Use exterior sealant for the wall penetration and line guard covers for a clean, protected finish.
If your system is not pre-charged, you’ll need specialized HVAC tools like a vacuum pump and manifold gauge set. While these tools add to the initial cost, they are a smart investment compared to the high price of many professional Ductless AC Unit installations.
The Core Mini Split Installation Process: A Step-by-Step Guide
With your system selected and tools ready, it’s time for the actual Mini Split Installation. This process requires careful attention to detail, as the indoor unit, outdoor condenser, and all connections must work in harmony. Let’s walk through each critical step.
Step 1: Mounting the Indoor Unit (Air Handler)
Proper placement and mounting of the indoor air handler are essential for performance and aesthetics.
- Location: Mount the unit at least six feet from the floor for proper air circulation. Avoid direct sunlight or heat sources, which can interfere with the thermostat.
- Wall Strength: Use a stud finder to locate wall studs. The air handler is heavy and must be secured to the framing, not just drywall.
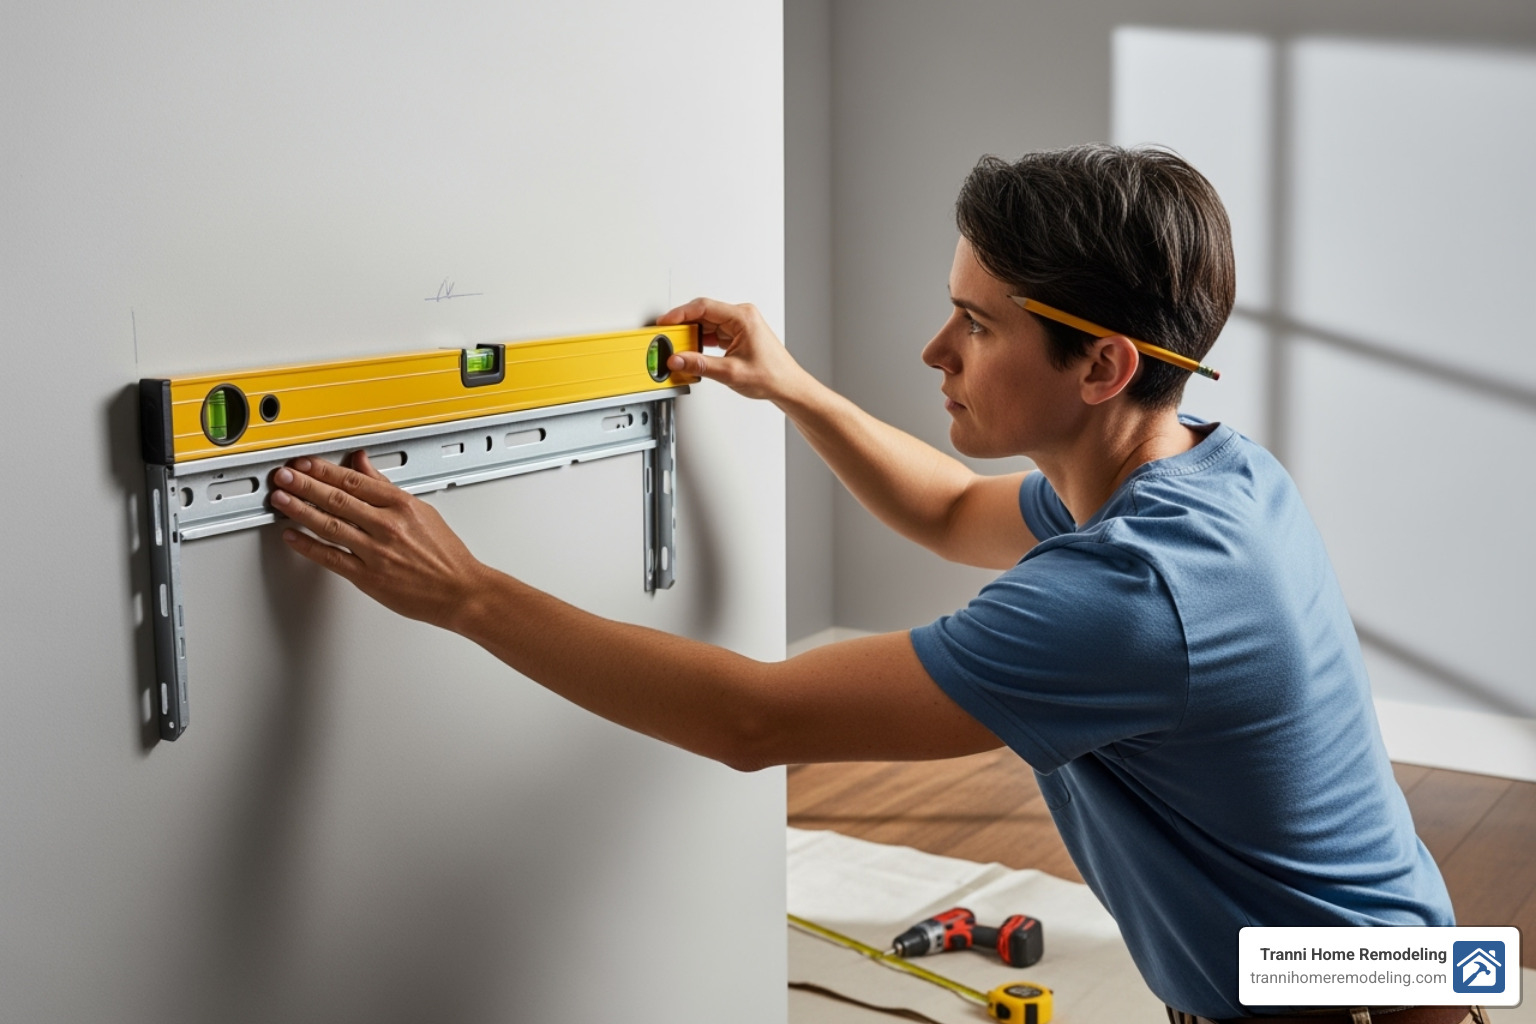
- Mounting Plate: Position the mounting plate on the wall, using your stud marks as a guide. Drill pilot holes before driving in screws or lag bolts to prevent splitting the wood.
- Leveling: This is critical. The unit must be perfectly level for the condensate to drain correctly. An unlevel unit will lead to water leaks and potential property damage. Double-check with your level before proceeding. This detail is key to a professional-quality ductless air conditioner installation.
Step 2: Drilling and Routing the Lines
This step creates the pathway between your indoor and outdoor units.
- Drill the Hole: Use a 3.5-inch hole saw to drill through the wall. This opening will house the refrigerant pipes, electrical wiring, and condensate drain tube. Drill a small pilot hole first to check for obstructions.
- Angle for Drainage: A crucial pro tip is to angle the hole slightly downward from the inside to the outside. This ensures gravity aids condensate drainage.
- Bundle and Route: Neatly bundle the two copper refrigerant lines, electrical wiring, and drain tube with electrical tape. The condensate line must be at the bottom of the bundle. Patiently feed the bundle through the hole, being careful not to kink the delicate copper lines. A kink can restrict refrigerant flow and damage the system.
- Protect the Lines: Use a line guard or conduit on the exterior to protect the lines from weather and damage, which gives your ductless air conditioning system installation a finished look.
Step 3: Mounting the Outdoor Unit (Condenser)
The outdoor condenser houses the compressor and requires a stable location with adequate airflow.
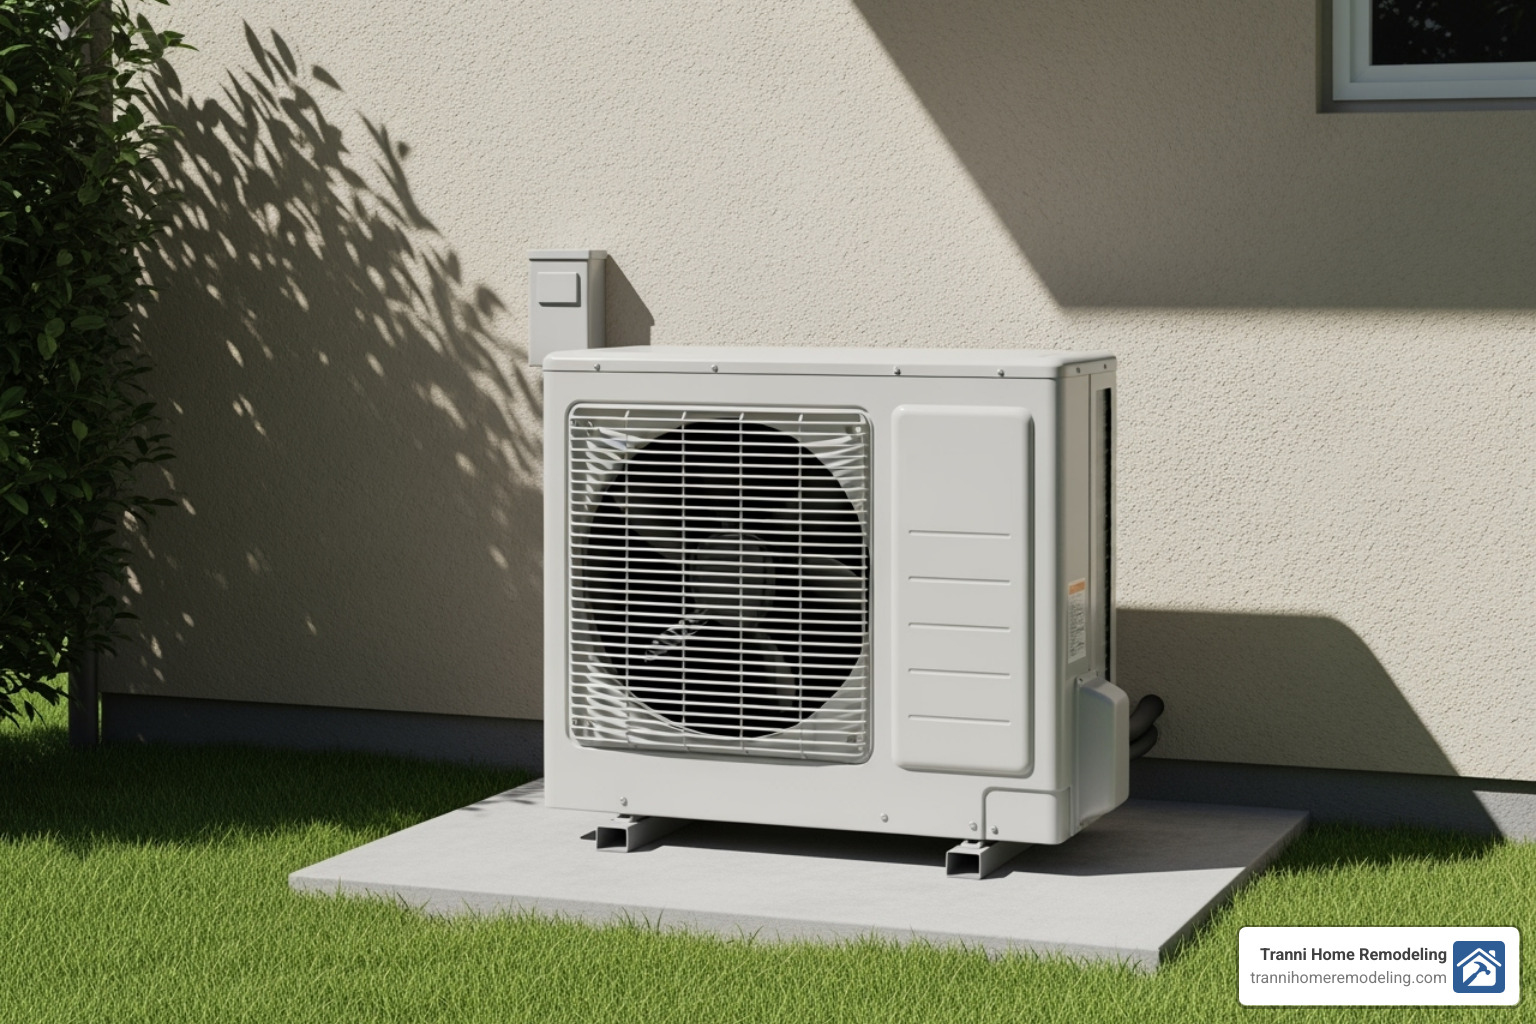
- Location and Clearance: The condenser needs a flat, stable surface with at least 24 inches of clearance on all sides and above for proper ventilation.
- Mounting Options: Ground mounting on a concrete or sturdy plastic pad is common, lifting the unit off the ground and dampening vibration. Wall mounting with a heavy-duty bracket is an option for tight spaces, but ensure your wall can support the weight.
- Vibration Pads: Place vibration absorption pads under the condenser to reduce noise and vibration transfer into your home. This simple addition makes a big difference in the quiet operation of your ductless heat pump system.
Making the Connections: The “Secret” Steps Where Pros Shine
These connection steps are where precision is paramount and separate a successful Mini Split Installation from a costly failure. While DIY kits have made things more accessible, these connections require patience and the right technique.
Connecting Refrigerant Lines
The refrigerant lines are the circulatory system of your mini split. They use flare fittings that demand precision. Your torque wrench is essential here. Always follow the manufacturer’s specific torque values (e.g., 11.8 ft/lbs for ¼” tubing) to create a perfect seal. Hand-tighten the nuts first to ensure alignment, then use the torque wrench for the final tightening. Over-tightening is as bad as under-tightening; one can damage the fitting, and the other will cause leaks. Getting this right the first time is crucial for reliable heating and cooling performance.
The Critical Electrical Work
High voltage safety warning: This is where we strongly recommend hiring a licensed professional. Most mini splits require a dedicated 220-240 volt circuit from your main panel. This is not a simple wiring job; incorrect work can lead to fire, electrocution, or system damage.

In Massachusetts, local electrical codes legally require a licensed electrician for these connections. This ensures safety, code compliance, and the validity of your homeowner’s insurance. An electrician will install the required outdoor disconnect switch and verify your home’s panel can handle the load. This is especially critical for HVAC installation for older homes with outdated wiring. The cost of an electrician is minor compared to the risks of DIY electrical work.
Finalizing the System: Pressure Testing and Vacuum Purging
This final step is non-negotiable for system longevity, even with pre-charged lines. The line set must be purged of all moisture and air, which can cause acid formation and compressor damage.
- Pressure Test: A professional uses dry nitrogen to pressurize the lines (e.g., to 300 psi) and checks for any pressure drop over time, which would indicate a leak. All connections are checked with a professional leak detection solution.
- Vacuum Purge: After confirming the system is leak-free, a deep vacuum is pulled using a vacuum pump and micron gauge. The goal is to reach 500 microns or lower, per EPA 608 guidelines. This deep vacuum boils off any residual moisture. The system must hold this vacuum after the pump is turned off, confirming it is dry and tight.
This meticulous process, detailed in many professional guides, ensures your system runs efficiently for years. These final steps are where professional expertise truly pays off.
Common DIY Mistakes and Post-Installation Care
Even careful DIYers can make small errors during a Mini Split Installation that lead to big headaches. Knowing what to watch for can help you avoid these common pitfalls and ensure your system runs smoothly for years.
Top Mistakes to Avoid During Your Mini Split Installation
- Improper Sizing: Guessing the BTU size is a costly error. An undersized unit runs constantly, while an oversized one short-cycles and fails to dehumidify. Use a proper BTU calculator.
- Incorrect Unit Placement: Placing the indoor unit in direct sunlight or too close to the ceiling can impair performance. The outdoor unit also needs adequate clearance (at least 24 inches) for airflow.
- Not Leveling Units: The indoor unit must be perfectly level for proper condensate drainage. If it’s not, you risk water damage inside your home.
- Kinking Refrigerant Lines: The copper lines are delicate. Bending them too sharply can restrict refrigerant flow and damage the compressor.
- Improper Torquing: Flare fittings require a specific torque. Too loose causes leaks; too tight damages the fitting. Use a torque wrench.
- Skipping the Vacuum Purge: This is a critical, non-optional step. Pulling the system down to 500 microns removes moisture and air that will destroy your system from the inside.
- Poorly Sealed Wall Penetration: Use quality exterior sealant to close any gaps around your line set to keep out water, pests, and drafts.
Avoiding these mistakes is key to a successful ductless AC unit installation.
Maintaining Your New Mini Split System
Once your installation is complete, regular maintenance will keep it running efficiently.
- Clean Air Filters Monthly: Washable filters in the indoor unit should be cleaned with soap and water and fully dried. Clogged filters reduce airflow and increase energy costs.
- Keep Outdoor Unit Clear: Ensure the condenser is free of leaves, grass, and debris. Gently rinse the coils with a garden hose periodically.
- Check the Drain Line: Ensure the condensate line is not clogged to prevent water backups.
- Schedule Professional Check-ups: Have a qualified technician inspect your system every 1-2 years to check refrigerant levels, electrical connections, and perform a deep clean. This preventative maintenance can save you from needing emergency air conditioning services near me.
Frequently Asked Questions about Mini Split Installation
Homeowners throughout Middlesex County often ask the same questions about Mini Split Installation. Whether you’re in Billerica, Andover, or Lexington, here are answers to the most common concerns.
Can I really install a mini split myself?
Yes, you can handle most of the installation yourself, thanks to DIY-friendly kits with pre-charged refrigerant lines. These allow a handy homeowner to complete the mechanical work: mounting units, drilling holes, and running lines. However, there are critical exceptions. In Massachusetts, electrical connections (typically a 220-240 volt circuit) legally require a licensed electrician for safety and code compliance. Additionally, handling refrigerant on non-pre-charged systems requires EPA 608 certification. Always plan to hire professionals for these specific tasks.
How much money can I save with a DIY installation?
The potential savings are significant. Based on internet data, professional installation costs can range from $5,000 to $35,000+, depending on the system and location. By handling the bulk of the work yourself, it’s possible to save thousands, even after factoring in the cost of tools. To understand your potential savings, it’s a good idea to get professional quotes first to establish a baseline for comparison.
How is a multi-zone installation different from a single-zone?
The main difference is complexity. A single-zone system is straightforward: one indoor unit connects to one outdoor unit. A multi-zone system connects multiple indoor units to a single, larger outdoor condenser. This involves running multiple line sets, more complex wiring, and more wall penetrations. Due to the increased potential for error, we generally recommend professional installation for multi-zone systems. While a DIY single-zone installation is feasible for many, multi-zone systems require a higher level of expertise to ensure proper function.
Conclusion: Enjoy Your Comfort, But Know When to Call the Experts
A DIY Mini Split Installation can be a rewarding project, offering significant savings and the satisfaction of creating zoned comfort in your home. The resulting energy efficiency is a major benefit, often leading to lower utility bills.
However, wisdom lies in knowing your limits. While you can handle the mechanical aspects like mounting units and running lines, safety and legal compliance are paramount. High-voltage electrical work and refrigerant handling are not DIY tasks; they require licensed professionals to ensure the job is done safely, correctly, and to code, especially given the strict electrical standards in Massachusetts.
For homeowners in Billerica, MA, and surrounding areas, the best approach is often a hybrid one: tackle the parts you’re comfortable with and hire experts for the critical connections. This gives you the savings of DIY with the peace of mind that comes from professional work.
At Tranni Home Remodeling, we’ve seen it all. We respect the ambitious DIYer and are also here to provide a flawless, professional installation from start to finish. If you want to ensure your project guarantees efficiency and safety, explore our HVAC Installation Services. We’re ready to help you achieve the perfect climate control for your home.
Like us on Facebook!